Course structure (modules and lessons)
Courses in audienced are built from modules and lessons. This structure enables clear content organization, a logical learning flow, and simple access management for users.
You can access the course structure in the Modules and lessons section.
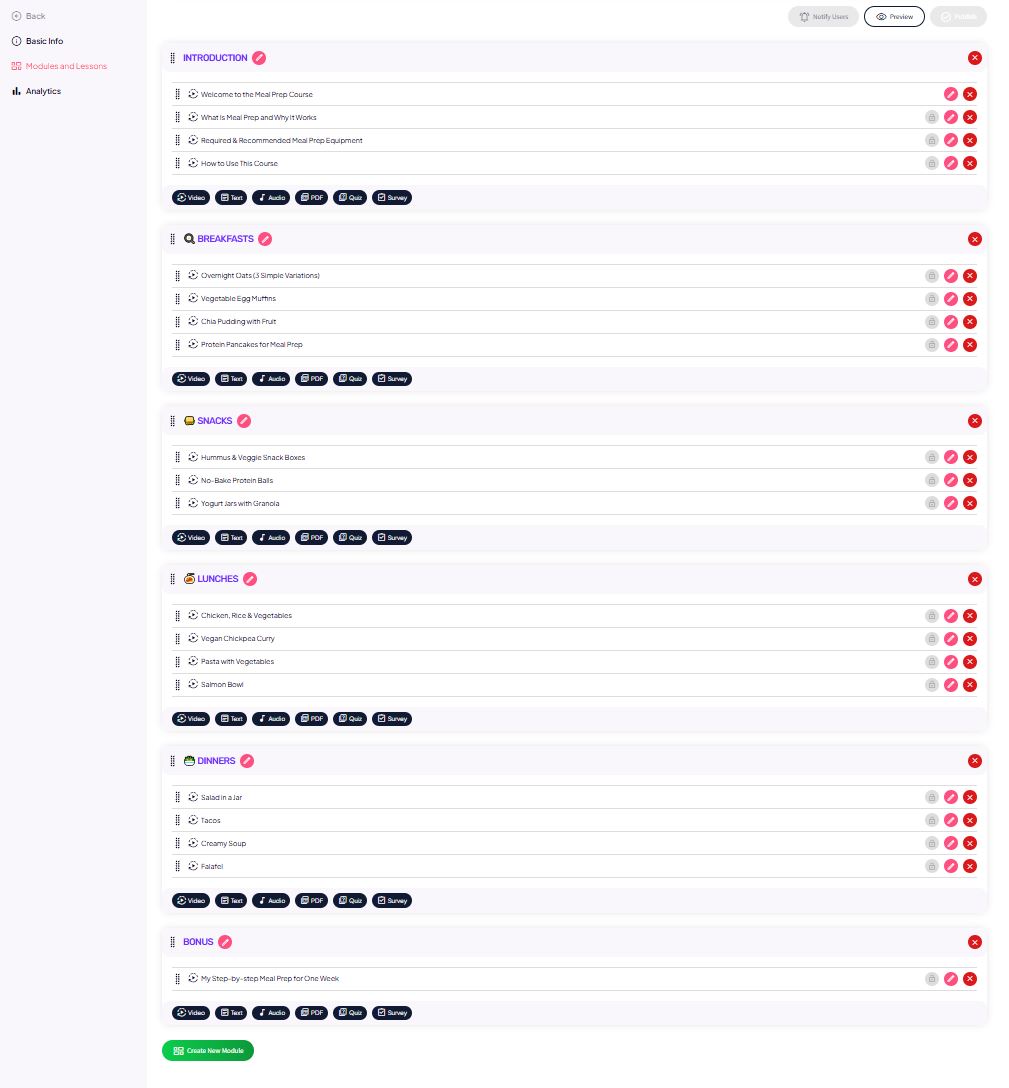
Modules
Modules represent larger content sections (e.g. Introduction, Breakfasts, Week 1, Advanced topics). You can create a new module by clicking the Create new module button located in the bottom-left corner.

With modules, you can:
- create new modules,
- rename existing modules,
- delete modules (together with all lessons inside them),
- change the order of modules using drag & drop.
Modules help users orient themselves and understand the overall course structure.

Lessons
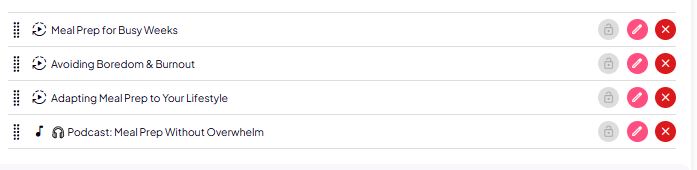
Lessons are individual content units within modules.
With lessons, you can:
- add new lessons,
- edit existing lessons,
- delete lessons,
- change the order of lessons using drag & drop within a module or between modules.

Each lesson can include video, PDF, audio, a quiz, a survey, or a combination of content—depending on the course type. To add a new lesson to a module, select the lesson type by clicking the button that takes you to the next step.
You can use drag & drop on both modules and lessons. Click and hold the selected lesson or module on the eight-dot icon to the left of its name and drag it to the desired position.
Lesson locking (lock icon)
On the right side of each lesson, you’ll see a lock icon.
- If the lesson is locked:
- the user can see it in the list,
- but cannot access it until you unlock it.
- If the lesson is unlocked:
- the user has normal access to the content.
You can use this feature even in classic courses without a drip system if you want to manually control when users can access specific lessons.
Quick action buttons
In the top-right corner, you’ll find three buttons:
- Notify users,
- Preview,
- Publish.

Notify users
The Notify users option is located in the top-right corner.
With it, you can:
- send an email to all users of this course,
- inform them about:
- a new lesson,
- updated content,
- an important announcement.
You can optionally link the notification to a specific lesson or multiple lessons.
Course preview
The Preview button allows you to:
- see the course exactly as a user sees it,
- check the structure, order, and lesson accessibility,
- review locked content and the overall user experience.
The preview does not affect real users.
Publishing the course
Once the course is ready, click Publish.
This means:
- the course is no longer a draft,
- it becomes visible to users,
- it can start accepting users (free or paid, depending on your settings).
You can continue to edit, expand, or adjust the course at any time after publishing.
Summary
The Modules and lessons section gives you:
- full control over the course structure,
- flexible ordering management,
- manual or automated access control,
- a clear and structured learning path for users.